How to Turn Anything Into a Self-Watering Pot
Self watering pots make plant care a lot easier. You don’t have to water as often, and you can water your plants right where they are without carrying them to the sink.
They’re easy to set up, work with all kinds of plants, and you can make one with things you probably already have at home. They’re also helpful when moving cuttings from water to soil, since the soil stays evenly moist and helps prevent shock.
There are a few ways to make one, but they all work the same way. A self watering pot has two main parts. There’s a water reservoir at the bottom, and a wick that pulls water up into the soil as the plant needs it.
How to Use Self Watering Pots
How to Water
Pour water slowly into the soil from the top. You just want to make the soil slightly damp.
Once it stops dripping into the reservoir, top it off with more water until it’s just below the bottom of the plant pot or riser. The wick should hang into the water, but the plant pot shouldn't sit in it.
Tip: Drench the topsoil with water treated with BTI drops each time you water. This helps prevent fungus gnats by killing larvae in the top layer of soil.
When to Refill
Let the reservoir dry out before refilling, and make sure the soil has dried out enough based on what your plant prefers. This is the key to preventing root rot.
How often you refill depends on the plant. Some plants like to stay evenly moist, so you may need to refill the reservoir more often. Others do better when the soil dries out mostly or even completely before getting more water.
You can follow the same watering rules you would use if you weren’t using a self watering setup. Just check the soil and refill the reservoir when the soil moisture matches what that plant normally likes.
Tip: Use clear pots to easily check the soil moisture. Wet soil looks darker, and it gets lighter as it dries out.
How to Make a Self Watering Pot
Step 1: Prepare Your Wick
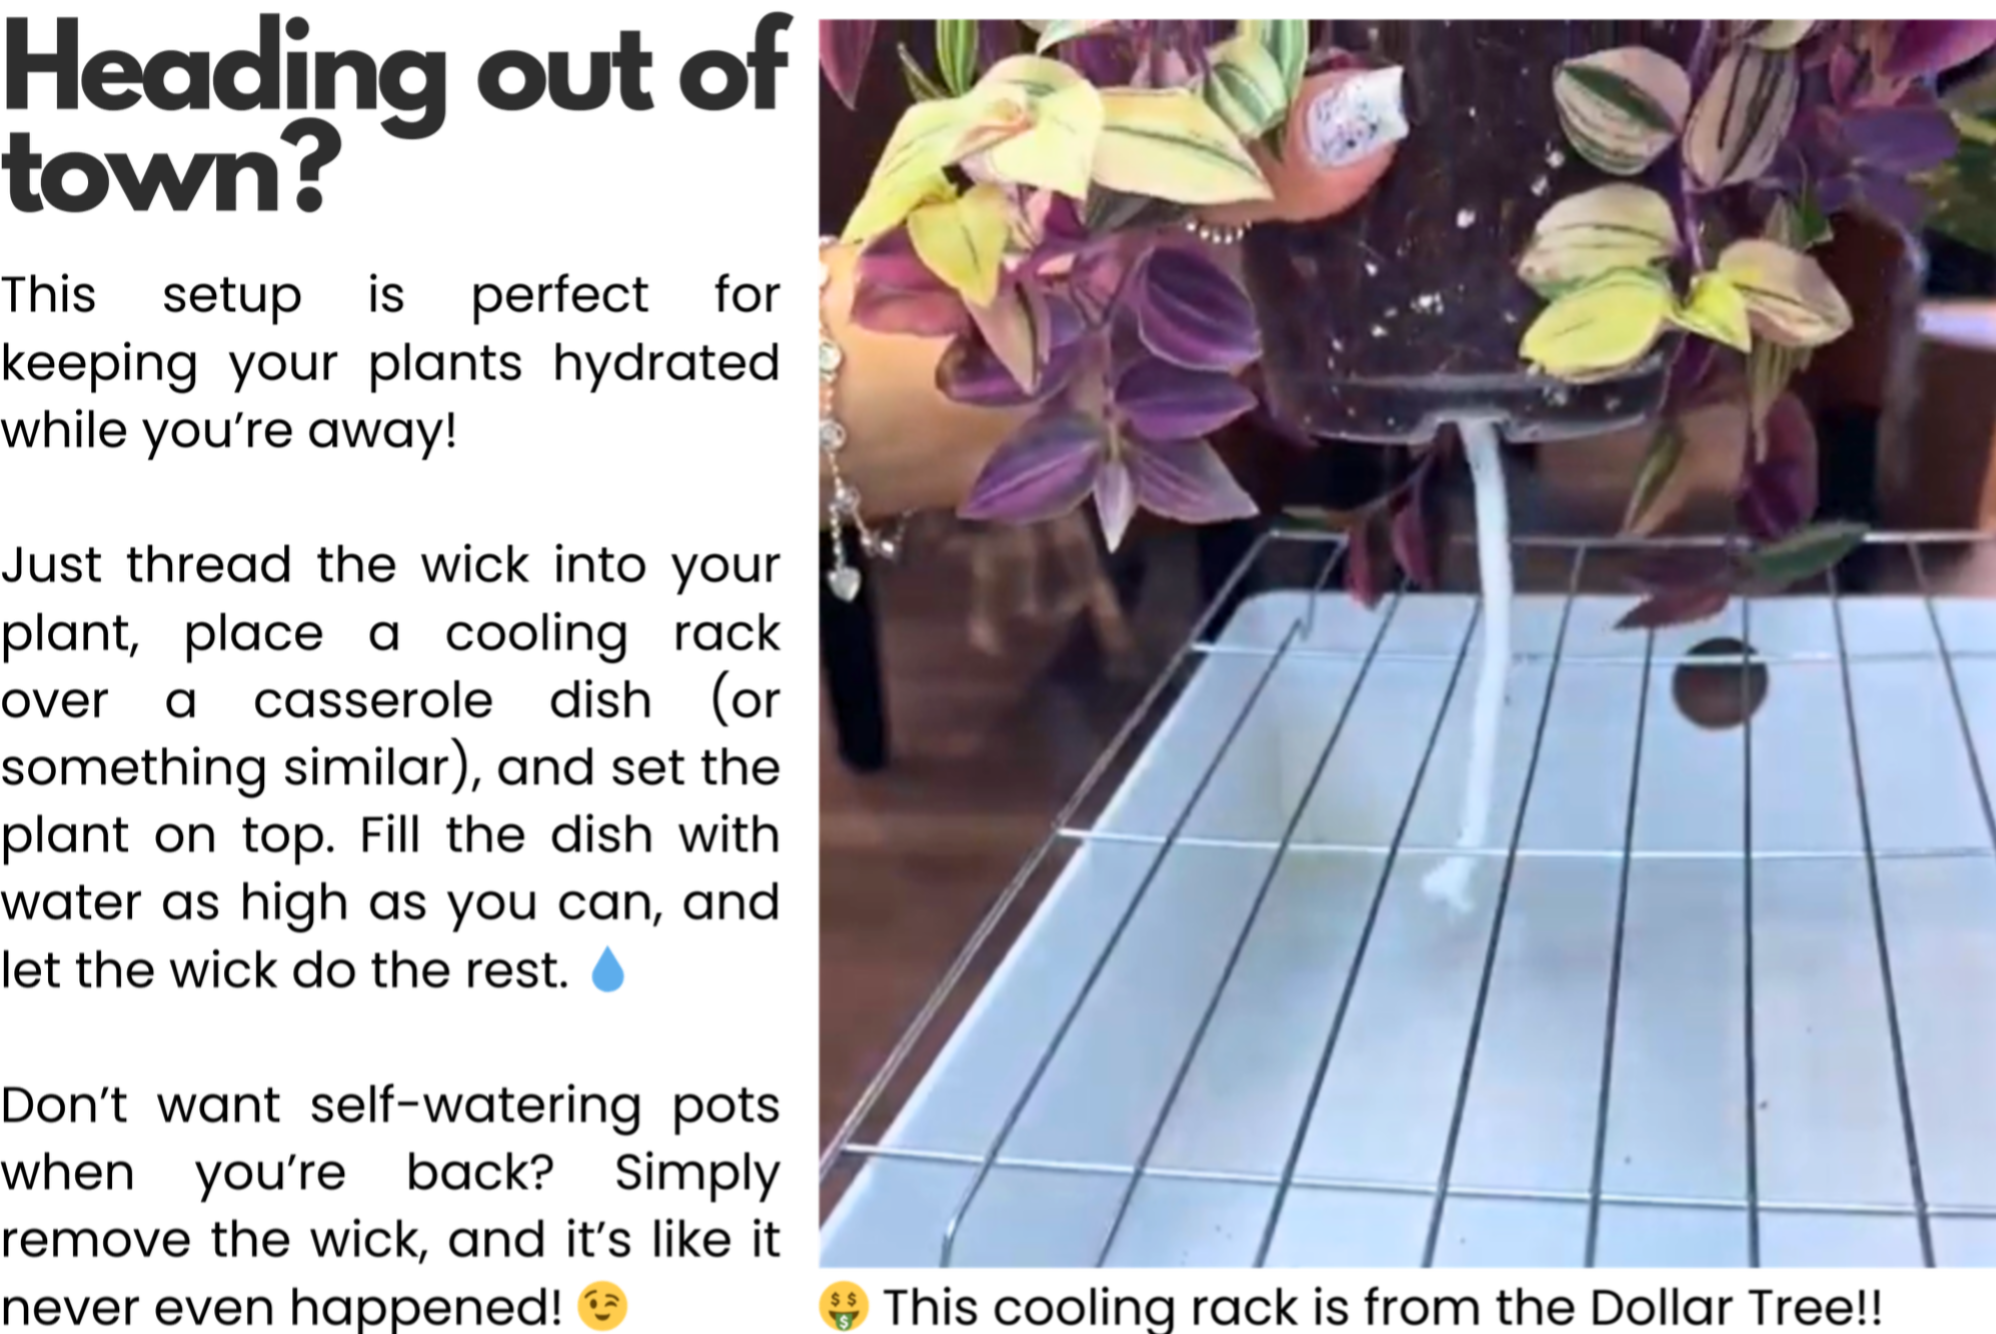
Cut a piece of wick long enough to reach from the bottom of your plant pot into the reservoir below. Thread the wick through the bottom of the pot so it rests in the soil. Make sure a few inches of the wick hangs down into the water.
Step 2: Add soil and plant
Fill the pot with well-draining soil and place your plant inside. Keep the wick buried and in contact with the soil. My peatless mix works great in self watering pots!
Step 3: Choose Your Setup
There are a few different ways to make a self watering pot, and you can use whatever containers you already have or you can use these supplies. Each setup might look a little different, but they all work the same way (the plant sits above the water, and a wick pulls moisture up into the soil).
Here are three easy setups you can try:
1. Decorative pot with no drainage hole:
This is one of the easiest setups because the decorative pot acts as the water reservoir. Just set the nursery pot into the decorative pot. If it sits too low and touches the bottom, use a riser to lift it just above the water level. The wick should still hang freely into the bottom.
Tip: Choose a decorative pot that’s at least a couple of inches taller than your nursery pot so there’s enough room for water underneath
2. Double-pot setup with a separate reservoir underneath:
The plant sits in a nursery pot with drainage holes. That pot goes inside a decorative pot that also has a drainage hole. A separate container of water sits underneath to act as the reservoir.
Place the decorative pot on a riser so it’s lifted above the water. The wick threads through the bottom of the nursery pot and out through the hole in the decorative pot, so it hangs into the water below.
3. Tall container setup:
This works well for smaller plants. The nursery pot sits inside a taller cup or container, like a plastic solo cup. There should be a few inches of space at the bottom for water. The wick hangs down from the nursery pot into that space so it can stay in contact with the water.
Tip: If the pot sits too low or touches the bottom, use something non-porous like sea glass to lift it just above the water level.
